Mastering The Art Of Crafting A Cardboard Cutout: A Step-by-Step Guide
Cardboard cutouts are versatile and can be customized to suit any theme or purpose, making them a popular choice for creative enthusiasts. With just a few basic tools and a little creativity, you can transform a simple piece of cardboard into an impressive piece of art.
Cardboard cutouts are not only cost-effective but also environmentally friendly, as they allow you to repurpose materials you may already have at home. This project is suitable for beginners and experienced crafters alike, offering endless possibilities for customization. Whether you're crafting a life-size cutout of your favorite superhero or designing a unique decoration for a special occasion, the process is straightforward and rewarding. By following the steps outlined in this guide, you'll be able to create a cardboard cutout that captures attention and sparks conversations.
In this article, we’ll explore the tools and materials you’ll need, provide step-by-step instructions, and answer common questions about how to make a cardboard cutout. We’ll also share tips for ensuring your cutout is durable and visually appealing. With this comprehensive guide, you’ll gain the confidence and skills to tackle this project and create something truly special. Let’s dive into the details and get started on your cardboard masterpiece.
Read also:Shawn Mendes Buzz Cut A Bold Transformation And Style Evolution
Table of Contents
- What You Need to Get Started
- How to Begin Your Cardboard Cutout Project?
- Design Tips for a Stunning Cardboard Cutout
- What Tools and Materials Are Essential for How to Make a Cardboard Cutout?
- Step-by-Step Instructions for How to Make a Cardboard Cutout
- What Are Common Mistakes to Avoid?
- Customization Ideas to Elevate Your Cutout
- How to Add the Finishing Touches?
- Frequently Asked Questions About How to Make a Cardboard Cutout
- Final Thoughts on Crafting a Cardboard Cutout
What You Need to Get Started
Before diving into the process of how to make a cardboard cutout, it’s essential to gather all the necessary tools and materials. Having everything prepared in advance will make the project smoother and more enjoyable. Below is a list of items you’ll need:
- Cardboard (preferably large and sturdy)
- Measuring tape or ruler
- Markers or pencils for sketching
- Scissors or a craft knife
- Glue or tape for assembly
- Paint, markers, or other decorative materials
Using high-quality cardboard is crucial, as it ensures your cutout will be durable and long-lasting. If you don’t have access to large pieces of cardboard, you can tape smaller pieces together to create a larger surface. Always prioritize safety when using sharp tools like craft knives, and work in a well-lit and ventilated area.
How to Begin Your Cardboard Cutout Project?
Starting your cardboard cutout project involves careful planning and preparation. Begin by deciding on the design you want to create. Are you making a life-size figure of a person, a favorite character, or an abstract shape? Once you’ve decided, sketch your design on paper before transferring it to the cardboard. This step ensures you have a clear vision of the final product and helps you avoid mistakes during the cutting process.
When sketching your design, consider the proportions and dimensions. If you’re creating a life-size cutout, take measurements to ensure accuracy. Use a marker or pencil to outline the design directly onto the cardboard. Make sure the lines are bold and easy to follow, as this will make the cutting process much easier.
Design Tips for a Stunning Cardboard Cutout
A well-designed cardboard cutout can make a significant impact, whether it’s for a party, event, or home decoration. Here are some tips to help you create a visually appealing design:
- Choose a simple design if you’re a beginner. Complex shapes can be challenging to cut and assemble.
- Use reference images or templates to guide your design process.
- Incorporate bold colors and patterns to make your cutout stand out.
- Consider adding layers or 3D elements for a more dynamic look.
Remember, the key to a successful cardboard cutout is balance. Avoid overcrowding the design with too many details, as this can make it look cluttered and overwhelming. Instead, focus on clean lines and a cohesive theme that aligns with your purpose.
Read also:Is Chappell Lesbian Exploring Identity Facts And Insights
What Tools and Materials Are Essential for How to Make a Cardboard Cutout?
Having the right tools and materials is crucial when learning how to make a cardboard cutout. Each item plays a specific role in ensuring the final product is sturdy, visually appealing, and easy to assemble. Below, we’ll discuss the essential tools and materials in detail:
- Cardboard: The foundation of your project. Choose corrugated cardboard for added durability.
- Cutting Tools: Scissors are suitable for simple designs, but a craft knife is better for intricate details.
- Adhesives: Use strong glue or duct tape to secure joints and layers.
- Decorative Supplies: Paint, markers, or fabric can be used to add color and texture.
Investing in quality materials will ensure your cardboard cutout withstands wear and tear, especially if it’s intended for outdoor use or frequent handling. Always prioritize safety when using sharp tools and adhesives.
Step-by-Step Instructions for How to Make a Cardboard Cutout
Now that you have your tools and materials ready, let’s dive into the step-by-step process of creating your cardboard cutout:
- Sketch your design on paper and transfer it to the cardboard using a marker.
- Cut out the design carefully using scissors or a craft knife.
- Assemble any additional layers or 3D elements using glue or tape.
- Decorate your cutout with paint, markers, or other materials.
- Allow the cutout to dry completely before displaying it.
Following these steps will help you create a professional-looking cardboard cutout that meets your expectations.
What Are Common Mistakes to Avoid?
While making a cardboard cutout is a straightforward process, there are some common mistakes that beginners often make. Here are a few pitfalls to watch out for:
- Rushing the design process without proper planning.
- Using flimsy cardboard that can’t support the structure.
- Skipping safety precautions when using sharp tools.
- Overloading the cutout with too many decorative elements.
Avoiding these mistakes will ensure your project is successful and enjoyable from start to finish.
Customization Ideas to Elevate Your Cutout
One of the best things about learning how to make a cardboard cutout is the endless customization possibilities. Here are some ideas to inspire your creativity:
- Add LED lights for a glowing effect.
- Incorporate fabric or textured materials for a unique look.
- Create a stand or base for your cutout to make it freestanding.
- Use stencils to add intricate patterns or designs.
Experimenting with different materials and techniques can take your cardboard cutout to the next level.
How to Add the Finishing Touches?
The finishing touches are what make your cardboard cutout truly stand out. Once you’ve completed the cutting and assembly, focus on adding details that enhance the overall appearance. Use paint to add shading and depth, or attach accessories like hats or props to bring your design to life. Don’t forget to inspect your work for any rough edges or imperfections and make necessary adjustments.
Frequently Asked Questions About How to Make a Cardboard Cutout
Can I Use Recycled Cardboard for My Cutout?
Yes, recycled cardboard is an excellent option for this project. Just ensure it’s clean, sturdy, and free of damage.
How Long Does It Take to Make a Cardboard Cutout?
The time required depends on the complexity of your design. Simple cutouts can take a few hours, while more intricate designs may require a full day.
Is It Safe to Use a Craft Knife for Cutting?
Yes, but always use a cutting mat and wear protective gloves to prevent injuries.
Can I Make a Cutout Without Painting It?
Absolutely! You can use colored cardboard or decorate it with fabric, stickers, or other materials instead.
Final Thoughts on Crafting a Cardboard Cutout
Learning how to make a cardboard cutout is a rewarding and creative endeavor that anyone can enjoy. With the right tools, materials, and a bit of patience, you can create a stunning piece that captures attention and adds a personal touch to any setting. Whether you’re crafting for fun or for a specific event, this project offers endless possibilities for customization and creativity. So, gather your supplies, follow the steps outlined in this guide, and let your imagination run wild!
Unveiling The Truth: How To Detect Voice Manipulation Online
Mastering The Two Strand Twist With Extensions: A Comprehensive Guide
Long In Front Short In Back: The Ultimate Guide To Stylish And Trendy Looks
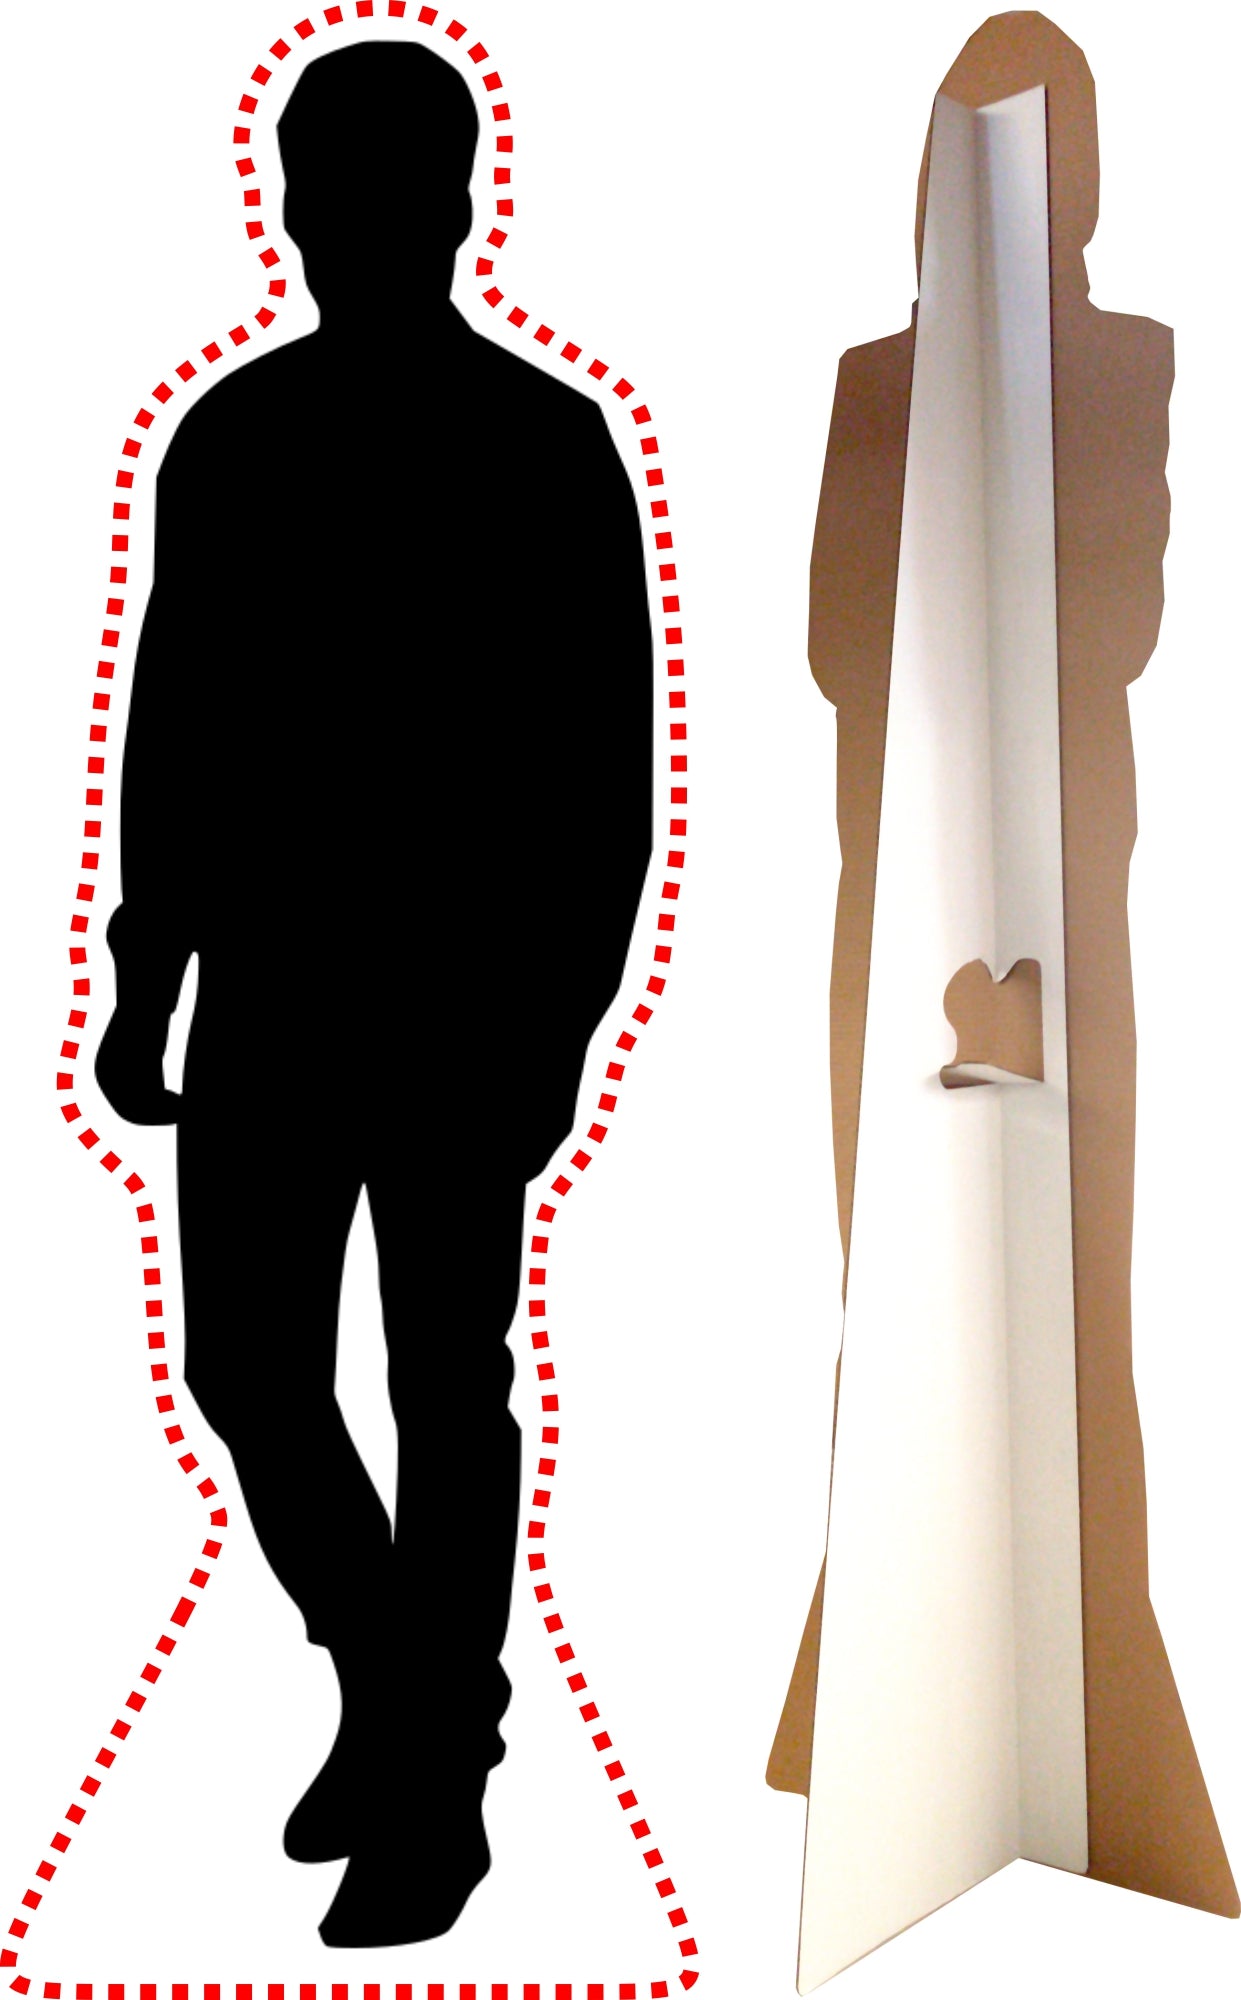
As low as 49 for 6ft Tall Custom Cardboard Cutout Custom Life Size
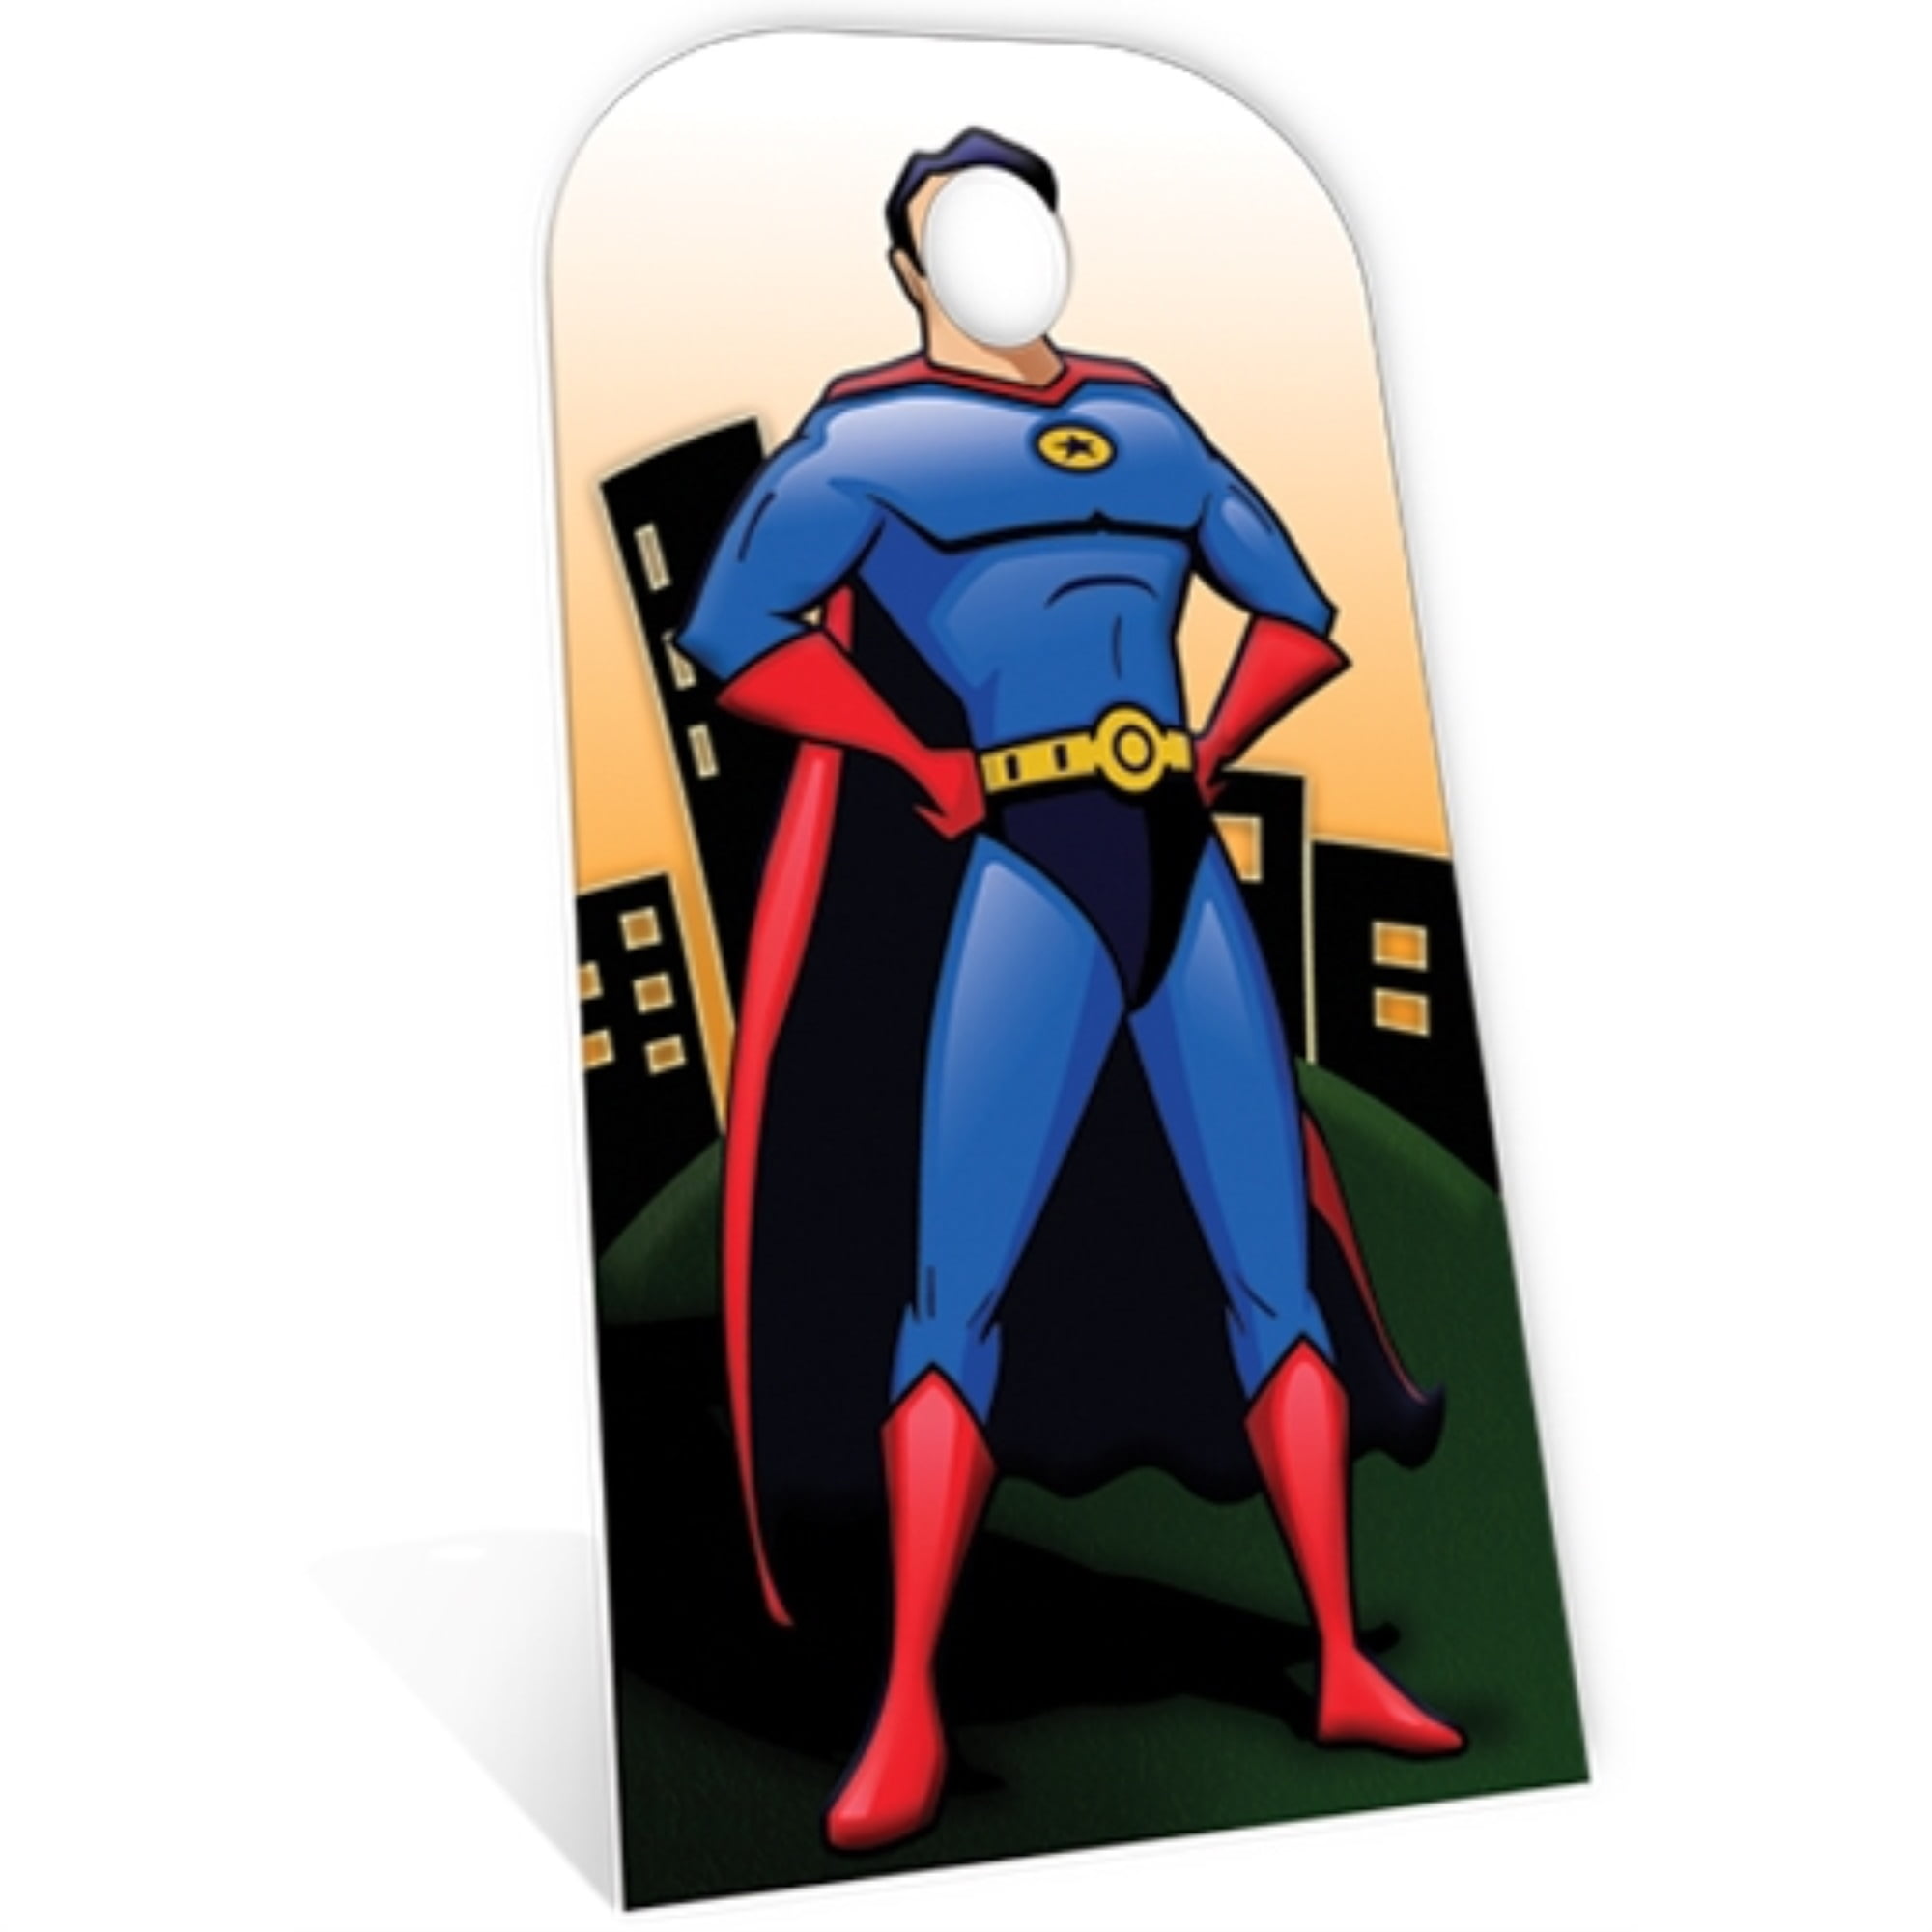
Superhero Stand In Cardboard Cutout Cardboard Cutout
